3D Font Generators: Create Stunning 3D Text for Printing, Games, and Design
Create stunning 3D text for games, animation, branding, and 3D printing. Explore the best 3D font generators, including AI-powered tools and professional software, with step-by-step workflows and export tips.
3D fonts can bring beautiful depth and visual hierarchy to a plain text-based layout, turning simple words into stunning visual assets. 3D fonts are different from usual 2D ones in that they have depth, thickness, and perspective, and can be applied in videos, games, 3D printing, and packaging design. They allow designers, makers, and hobbyists to create beautiful text that spins, moves, and can even be cut out as physical goods.

So, now in this post, we will discuss the 3D font generators online, the necessities of 3D font generators, our best choice, and a guide for creating professional 3d text.
What is a 3D Font Generator?
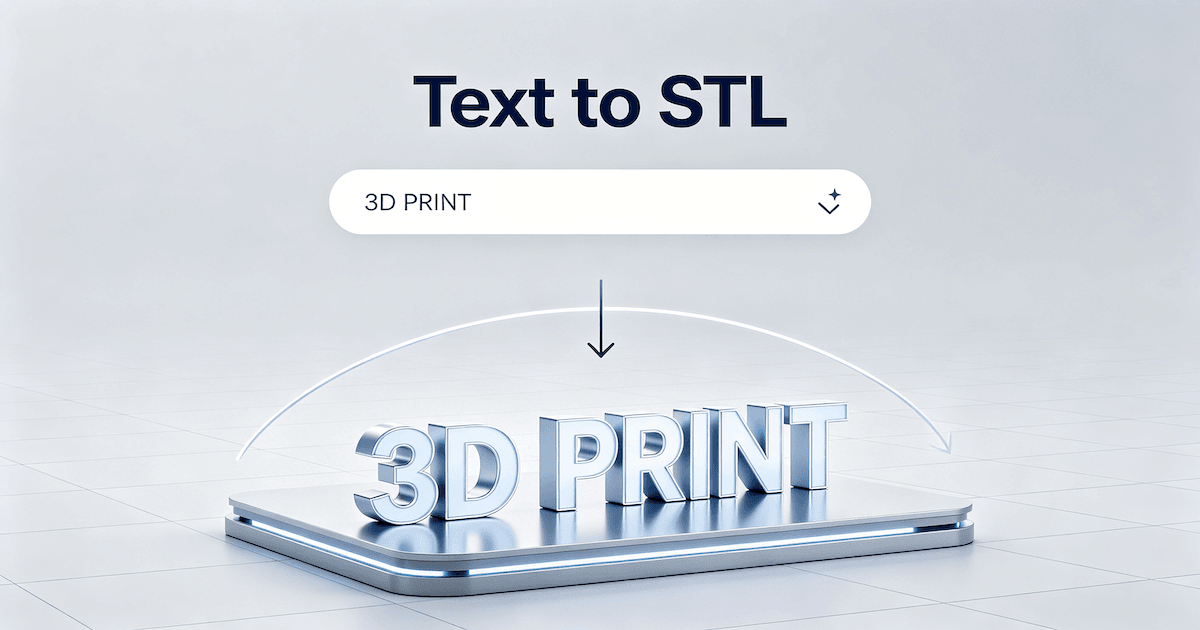
3D font generators are applications or online tools that transform the regular input text into a three-dimensional text model. These 3D model letters are perfect for use in digital projects, animated videos, games, or even 3D prints.
Differences Between 2D and 3D Fonts

2D fonts are just flat letters and numbers in two dimensions. They are widely used in documents, web pages, and graphic designs. 3D fonts, in contrast, have depth and perspective, enabling them to be rotated in 3D space. They can also be textured, animated, and even printed.
Applications of 3D Fonts
3D fonts find their place in game assets and animations, 3d printed letters or logos, and in branding or motion graphics. They add impact and professionalism to any output.
Why Use 3D Fonts in Your Projects
Game Design and Animation
3D fonts can be integrated directly into game engines or animation projects. They allow designers to create dynamic titles and interactive elements that enhance user experience.
3D Printing and Physical Models
3D letters and logos can be created with desktop 3D printers or industrial 3D printers. So you can make a physical version of your digital design for signs, collectibles, and promotional products.
Branding and Visual Design
Marketing materials, posters, and digital content can be made more engaging with 3D typography. The added depth and flair allow your brand to stand out and grab attention.
Best Free Online 3D Font Generators (Quick Output)
These tools are for when you need a 3D-looking text image right now. No software, no learning curve, no signup. You type your text, pick a style, and download a PNG or GIF.
1. Online Text Generator
Online Text Generator offers 13 text effect themes, and one of them is a dedicated 3D text generator. You type your text, pick from a handful of font styles, choose your colors, and download a PNG.
Best for: Quick social media graphics, channel art, anything where you just need something that looks 3D in under 30 seconds.
Limitation: No depth control. You can't adjust the extrusion or viewing angle. The "3D" part is baked into the template, and you get what you get.
2. Engfto.com
Engfto goes deep on 3D text styles. Dozens of presets: neon glow, gradient volume, retro 80s, cyberpunk, Need for Speed style, chrome, icy, the list goes on. Some effects export as animated GIFs.
Best for: Creators who want stylized 3D text without opening Blender. The cyberpunk and neon presets look genuinely good.
Limitation: No custom font support. Every style is a template. If your brand uses a specific typeface, you're out of luck here.
3. Picture to People
Picture to People takes a different approach. Instead of preset styles, you get granular controls: font face, extrusion depth, bevel type, color, lighting angle, and background transparency. It's more like a simplified 3D text renderer than a one-click generator.
Best for: People who want more control over the final look without learning 3D software. If Engfto's templates feel too rigid, try this.
Limitation: The interface hasn't been updated since about 2015. It works, but it's not pretty, and some settings take trial and error to understand.
Best Traditional or Professional 3D Font Generators Software

Blender 3D Text Tools offer full control over extrusion, bevels, materials, and animation. This professional software is suitable for complex or highly customized 3D text. It allows precise modeling for games, animations, or physical printing projects.
How to Make Proper 3D Text in Blender (Step-by-Step)
If you've decided you need the full control that only 3D software gives you, Blender is the place to start. It's free, it's powerful, and the text tool is genuinely good once you know where the settings live.
Here's the step-by-step.
Step 1: Add a Text Object
In the 3D viewport, press Shift+A to open the Add menu, then select Text. A default "Text" object appears in the scene.
Step 2: Edit Your Text
Press Tab to enter Edit Mode. Backspace the default text and type whatever you need. Press Tab again to exit Edit Mode.
In the N-panel (press N to toggle it), under Item → Transform, you can adjust the text size if it's too small or too large for your scene.
Step 3: Load Your Font
This is where Blender gets powerful. Open the Properties panel on the right side and click the Object Data Properties tab (the green "F" icon). Under the Font section, you'll see "Regular." Click the folder icon next to it and load any TTF or OTF file from your system.
This is how you match your brand typeface exactly. No online generator can do this.
Step 4: Extrude
Still in the Object Data Properties tab, scroll down to the Geometry section. Set Extrude to something like 0.05m to 0.1m. Your flat text now has depth. Adjust until it looks right for your scene.
Step 5: Bevel
Right below Extrude, you'll find Bevel Depth and Bevel Resolution. Set Bevel Depth to around 0.005m to 0.01m and Bevel Resolution to 2 or 3.
This is the step that separates amateur 3D text from professional-looking 3D text. Without bevels, the edges are razor-sharp and look cheap. With bevels, the edges catch light naturally, and the text looks polished.
Step 6: Add Subdivision Surface
Add a Subdivision Surface modifier (Properties panel → Modifiers tab → Add Modifier → Subdivision Surface). Set Levels Viewport to 2.
This smooths out the bevels so they don't look faceted. Without this modifier, your bevels will have visible flat faces, especially on curved letters like O, C, and S.
Step 7: Set Up Lighting and Render
Add a camera and at least one light source (Area Light or Sun works well for text). Position the camera at an angle that shows off the depth and bevels.
For rendering, start with Eevee (fast, real-time preview). If you need physically accurate reflections and shadows, switch to Cycles.
Common mistakes to avoid:
- Forgetting to apply the scale. Before rendering, select the text, press
Ctrl+A, and choose Scale. If you skip this, your bevels and proportions can look wrong. - Bevel Resolution set too high. Anything above 5 creates unnecessary geometry and slows down your scene without visible improvement. Stick with 2–3.
- No Subdivision Surface modifier. Your bevels will look rough and faceted. This modifier is not optional for clean 3D text.
Need more than just text? If you're building 3D character assets alongside your text elements, our guide to the best 3D character makers covers the tools worth using.
Blender to 3D Printing (STL Workflow)
If the goal is a physical print, the Blender workflow extends a few steps further.
- Follow Steps 1–6 above to create and bevel your 3D text.
- Check for non-manifold edges. In Edit Mode, go to Select → Select All by Trait → Non-Manifold. If anything lights up, you have geometry issues that need fixing.
- Clean up. Mesh → Clean Up → Merge by Distance. This removes duplicate vertices that can cause slicer errors.
- Add a base. For thin text like a nameplate or desk sign, add a flat plane (Shift+A → Mesh → Plane) and position it behind the text. Select both objects, press
Ctrl+Jto join them, then use Boolean or manual vertex welding to merge. This gives the print a stable foundation. - Export as STL. File → Export → STL. Check the selection-only box if you only want the text, not the whole scene.
- Verify watertightness. Open the STL in Meshmixer or Netfabb and run an analysis. Fix any holes or flipped normals before sending it to your slicer.
For a deeper walkthrough on fixing mesh errors that come up during this process, our mesh repair guide for 3D printing covers the common issues and how to solve them.
Pro tip: For text that's going to sit flat on a surface (like a desk nameplate), orient the text face-up in Blender before exporting. Most slicers assume the bottom of the model sits on the build plate, and text oriented sideways will need supports and look rough on the bed-facing side.
Plus, Blender isn't the only option for 3D text. Two other programs come up a lot:
- Maya's Create → Text tool is powerful and fits naturally into animation and game pipelines. If you're already working in Maya, there's no reason to switch to Blender just for text. The trade-off: Maya costs money, and the text tool has a steeper learning curve than Blender's.
- Cinema 4D is the motion designer's favorite, and for good reason. The Text object is fully parametric. You can adjust font, depth, and bevel non-destructively, meaning you can tweak settings at any point without breaking anything. It also integrates directly with After Effects via Cineware. Best for: motion graphics, broadcast design, anything that's going through After Effects.
AI-powered Tools: Generate 3D Text with Triverse AI

AI 3D generators have made creating 3D text incredibly easy. Instead of modeling manually, you can simply describe what you want in plain language, and the AI will generate a downloadable 3D model in seconds.
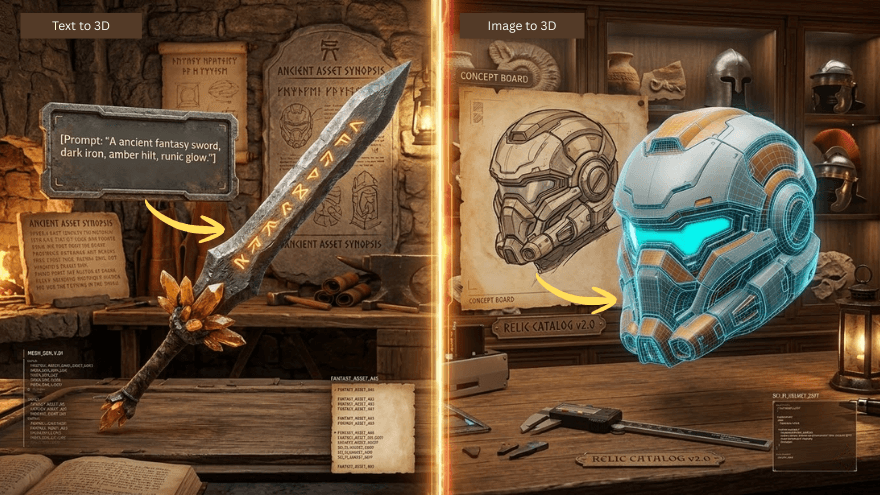
Triverse AI performs well for "Text to 3D" or "Image to 3D" tasks. It offers fast generation, good model quality, and is especially suitable for game UI, titles, logos, and branding assets.

Check the complete workflow below to create your own 3D font!
How to Create a 3D Font with Triverse AI ( Step by Step)
Step 1: Be specific about style, material, lighting, and usage
Example Prompt:
photorealistic 3D text "Create", thick block letters, clean extruded 3D shape, no shadows, no reflections, no texture, pure white background, isolated single object, orthographic front view with slight top angle, sharp focus on every letter edge, 8K resolution, no artifacts, perfect for 3D model generation
Step 2: Generate the Model
Triverse AI processes the prompt and produces a 3D model in seconds.

Step 3: Export in Your Preferred Format
Choose from a wide range of professional formats:
- .GLB — Best for web, Unity, and Unreal Engine
- .OBJ — General use and Blender
- .STL — Ideal for 3D printing
- FBX, .3MF,.USDZ (Apple devices)
Quick Comparison of 3D Font Tools
Tool | Strengths | Best Use | Notes |
|---|---|---|---|
FontArk | Easy web access, quick letter customization | Beginners, web projects | No installation needed |
Vectary | Moderate complexity, interactive 3D features | Designers, interactive content | Supports multiple formats |
Spline 3D Text | Beginner-friendly, supports animation | Web animation, interactive demos | Simple UI, good for rapid testing |
Triverse 3D Text Generator | AI-assisted generation, rapid prototyping | Quick model creation, printing, and games | Optimized meshes, minimal manual work |
Blender | Full control, precise modeling | Professionals, complex projects | Steep learning curve, powerful features |
Choosing the Right 3D Font Generator
When deciding which 3D font generator to use, consider the following:
- Skill level: Web-based or AI-assisted tools are best suited for beginners; the advanced designers may want to use Blender for full control.
- Output requirements: Determine if your project needs a printable mesh, game-ready model, or animated text.
- Customization needs: See if you can modify the depth, bevel, style, or textures.
- Platform compatibility: Make sure the software is compatible with your operating system and your work process.
- Efficiency vs precision: Triverse AI and other AI tools allow you to make 3D text instantly for fast prototyping, while Blender gives you the whole spectrum of creativity for complex personalized solutions.
Tip: Choose the tool you need based on what you want to do now. For fast prototypes or 3D printing, AI-based approaches are generally the fastest. If you are after professional-level animations or complex projects, then Blender or Vectary might be the way to go.
Conclusion
There's no single "best" 3D font generator because the right tool depends entirely on what you're making. Quick social post? Grab an online generator. Need a real 3D model but don't want to learn Blender? Generate one with Triverse AI. Need full control over every parameter? Open Blender.
Start with the decision tree at the top of this guide, pick the path that matches your output, and go from there. And if you need a 3D text model without the learning curve, try Triverse AI, just type a prompt describing the 3D text you want, download the model, and export it in .GLB, .OBJ, .STL, .3MF, .FBX, or .USDZ for whatever pipeline you're working in.