How to Rig a Model in Blender: A Practical 2026 Workflow
How to rig a model in Blender, step by step: armature, automatic weights, weight painting, Rigify, and why mesh topology decides the bind.
You select the mesh, Shift-click the armature, press Ctrl+P, and pick With Automatic Weights. Then you rotate an arm in Pose Mode and watch the shoulder collapse, or the forearm drag half the chest along with it. Every tutorial told you which menu to open. Almost none told you why it came out wrong.
Rigging a model in Blender is mostly decided before you ever parent anything. Automatic weights are a guess based on bone distance, and a bad guess stays bad no matter how carefully you paint afterward. This guide covers the full workflow for Blender 5.2 LTS. It spends most of its time on what other guides skip: checking the mesh, picking a binding path that fits the model you have, and fixing the failures.
Why Most Guides on How to Rig a Model in Blender Start Too Late
Search this phrase and you get a wall of near-identical walkthroughs. Add an armature, extrude some bones, Ctrl+P, paint weights, done. They are not wrong, and for a clean humanoid built in a neutral pose they work fine. The problem is the assumption hiding underneath: that the mesh arrived clean, closed, symmetric, and made of tidy quads.
Most people learning how to rig a 3D model in Blender in 2026 are not starting from a mesh they built themselves. They downloaded it, scanned it, exported it from a sculpting app, or generated it. Those files show up as one dense object with fused fingers, unapplied scale, or arms glued to the torso. Parent that to an armature and bone heat has nothing reliable to work with. You then spend an hour in Weight Paint mode fixing a problem that was created two steps earlier.
What an armature, bones, and weights actually do
An armature is a skeleton object. Bones are the joints inside it, and they are what you rotate in Pose Mode. The mesh does not follow a bone directly. Each vertex carries a weight from 0 to 1 for each deforming bone, and that number decides how much the bone pulls it. Blender's Armature Modifier reference puts the rule plainly: a bone named "forearm" only affects vertices in the vertex group called "forearm". The names have to match.
That one sentence explains half the "my model isn't moving" posts. If the groups are missing, renamed, or belong to a different armature, the bone has nothing to grab.
What Blender's manual actually says about automatic weights
The Armature Deform Parent page describes With Automatic Weights as an algorithm that calculates influence "based on the distance from those vertices to a particular bone", which it calls the "bone heat" algorithm. Then comes the warning most tutorials leave out. The method is easier to set up, but "it can often lead to armatures which do not deform child objects in ways you would want". Overlaps happen when Blender decides which bone owns a vertex on a complex armature.
There is a second warning worth knowing. If your mesh already has vertex groups named after bones, both Automatic Weights and Envelope Weights will completely overwrite them. The manual's advice in that case is to use With Empty Groups and keep the weights you already made. If you have ever lost a finished weight pass by re-parenting, that is what happened.
Before You Rig a Model in Blender: The Five-Minute Mesh Check
Treat this as part of the tutorial, not as prep you can skip. Every item here maps to a specific failure later.
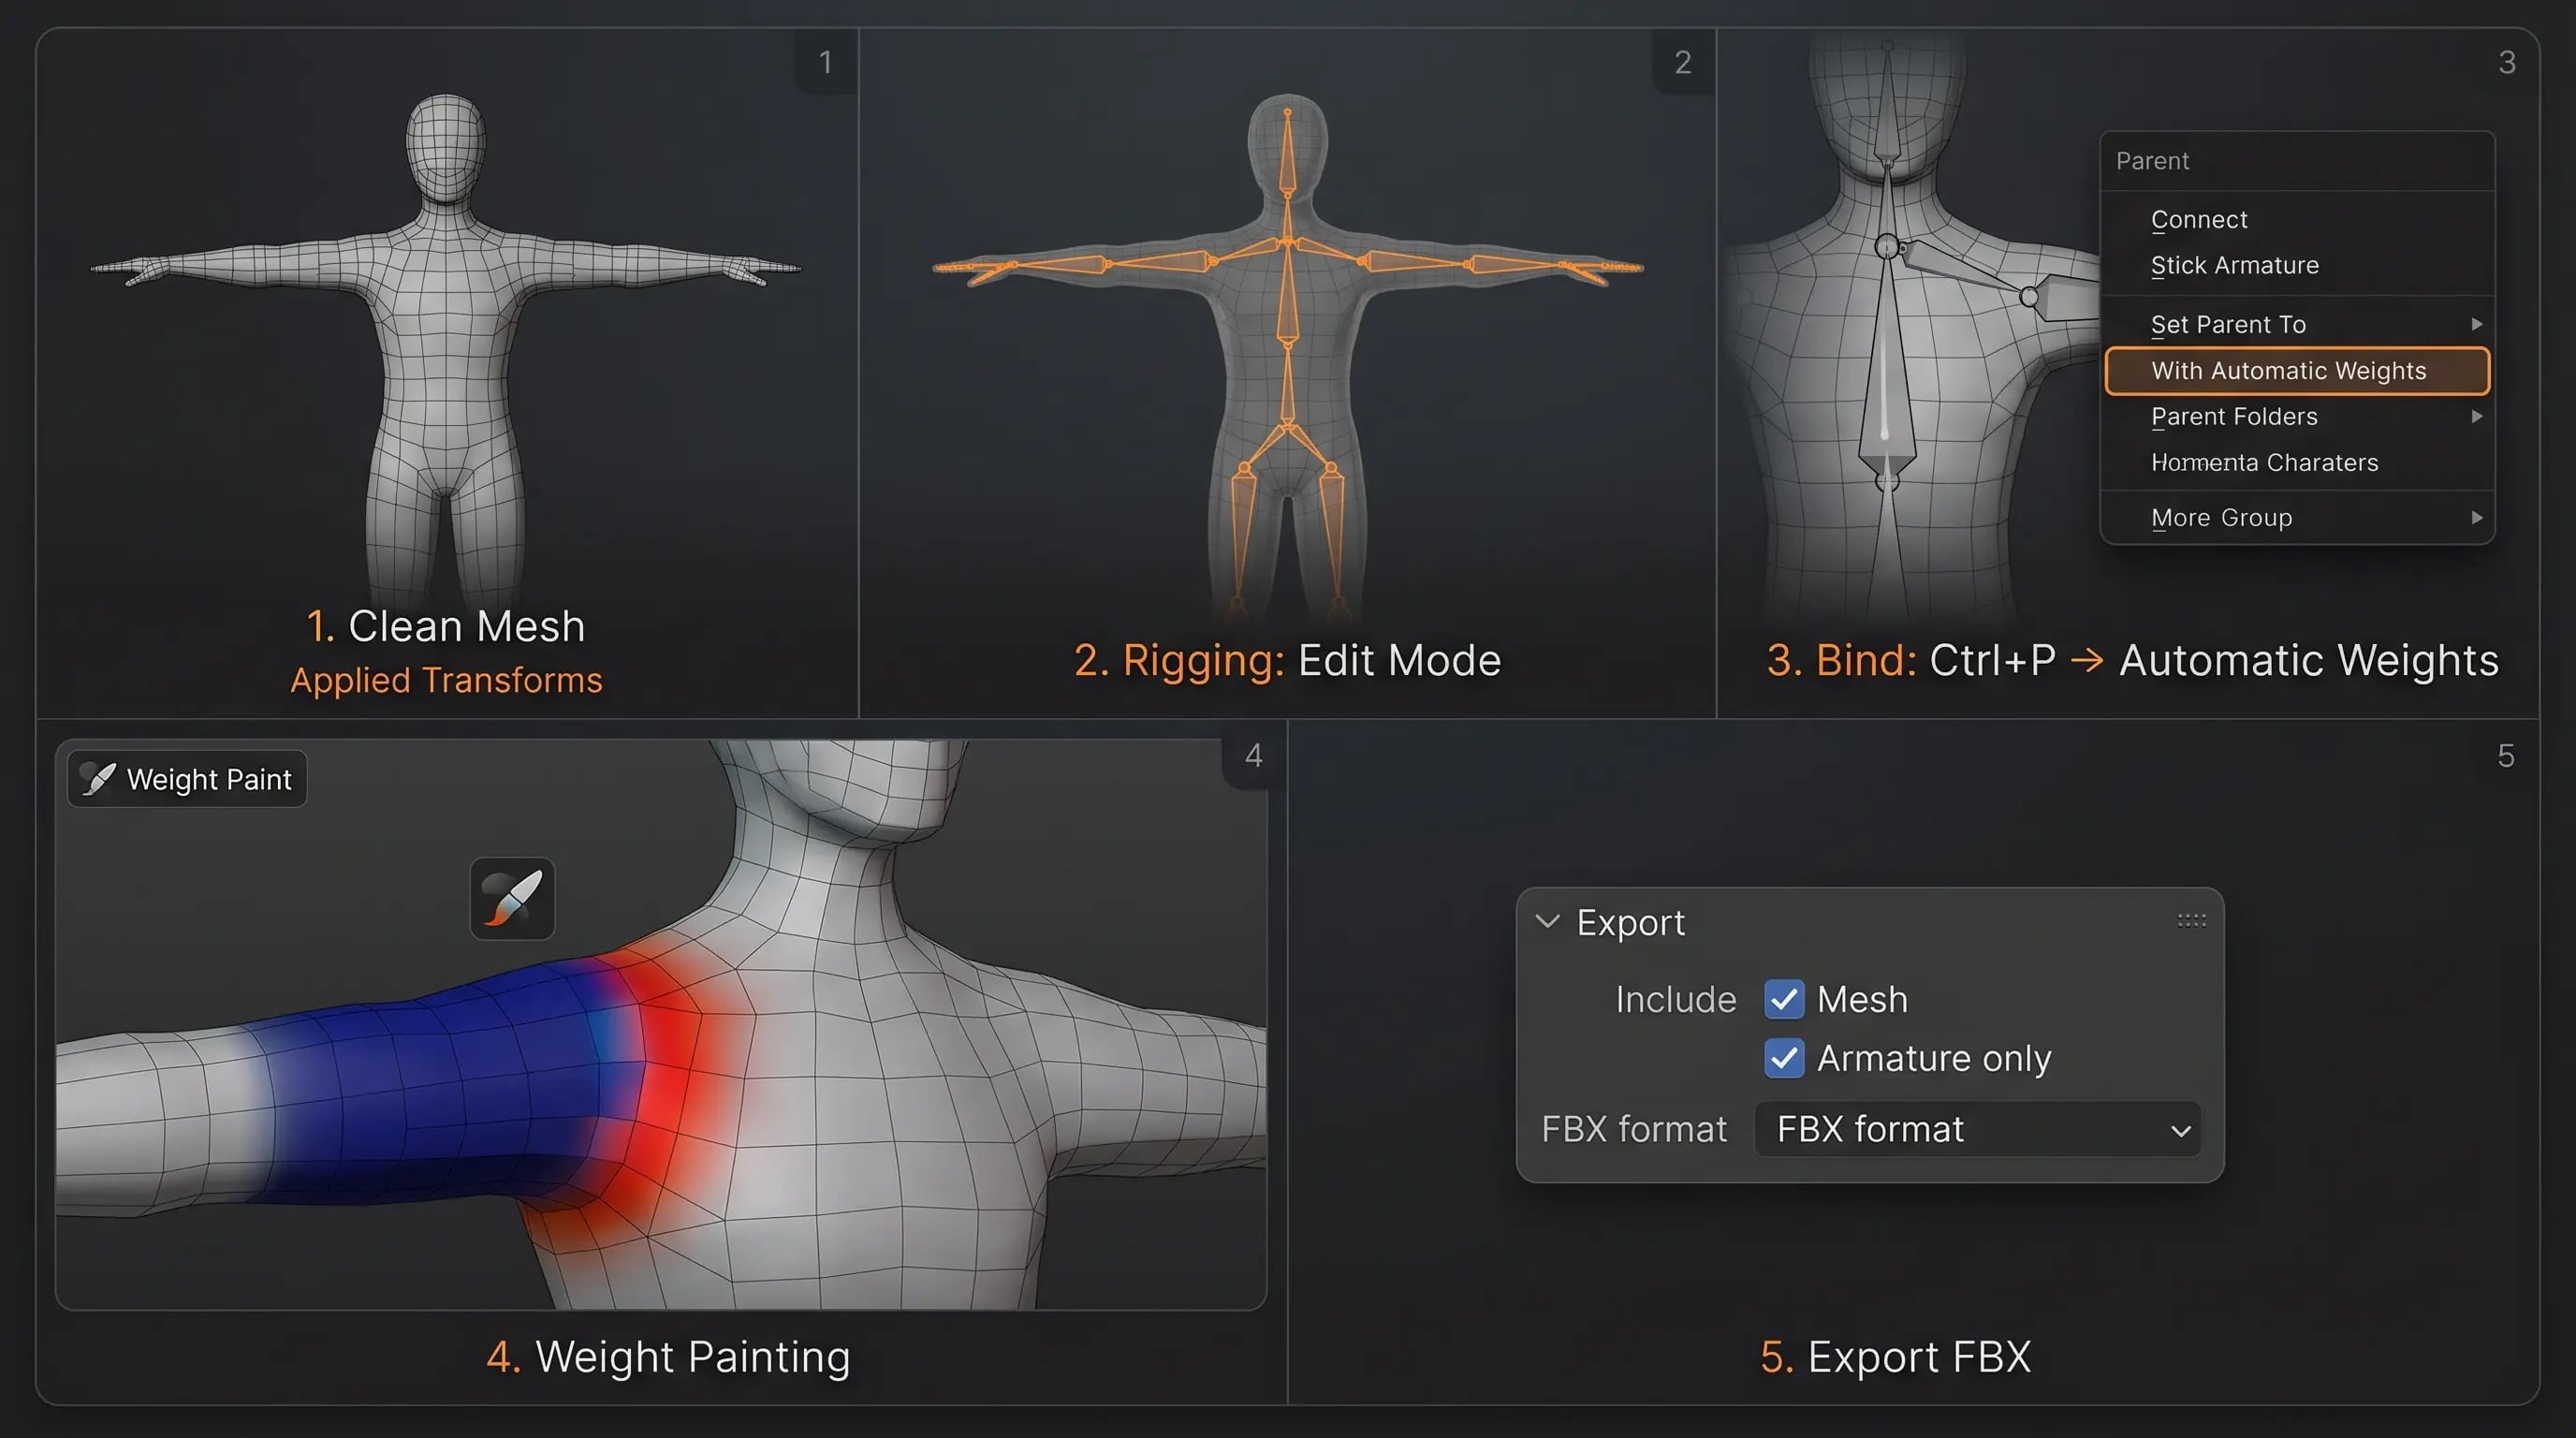
- Apply transforms. Select the mesh, Ctrl+A, Apply All Transforms. Scale and rotation should read 1.0 and 0.0. Unapplied, non-uniform scale distorts the world-space math that bone heat uses.
- Make it one closed object. Merge loose parts that belong together, delete internal faces, and check for non-manifold edges. Overlapping shells are the most common trigger for bone heat refusing to solve.
- Check the rest pose. Arms out or relaxed and slightly down, legs separated, spine straight. A character with arms pressed against its ribs gives the arm bones no clear volume to sit in.
- Check joint topology. Elbows, knees, and shoulders need enough edge loops to bend without pinching. A dense triangulated surface with no loop structure folds like paper.
- Check scale against real units. A 2-centimeter character and a 200-meter character both confuse the solver. Set a sane scene unit and keep the model near the origin.
How to rig a model in Blender for beginners without fighting the pose
If you model your own characters, decide the bind pose before you build the rig. Our comparison of A-pose vs T-pose for character rigging covers the trade-off in detail. T-pose puts the arms on clean axes, so joint placement is obvious and auto-riggers like it. An A-pose, with the arms roughly 45 degrees down, starts the shoulder closer to where it spends most of its animated life. Neither wins outright. Pick the one that matches what the character does most, then build edge loops for it.
Extra edge loops where a rigged model bends in Blender
Add two or three rings around each major joint before you parent anything. It is five minutes of work in Edit Mode and it saves a long Weight Paint session. A mesh with no supporting loops cannot hold a smooth bend, so the solver has to choose between a hard crease and a collapsed shoulder. There is no brush fix for missing geometry.
How to Rig a Model in Blender Step by Step
This is the manual path. It is the right one to learn on, and the right one for anything that is not a standard humanoid. The shortcuts in the official Armatures manual index still apply in 5.2 LTS.
Step 1: How to rig a model in Blender with a manual armature
In Object Mode, Shift+A, then Armature, then Single Bone. Tab into Edit Mode. Put the root at the hips, extrude upward with E for spine, neck, and head, then extrude down for the legs and out from the shoulders for the arms. G moves a bone; keep checking that joints line up with the actual anatomy from both the front and side views.
Name every bone as you go: Head, Spine, Upper_Arm.L, Lower_Leg.R. The .L and .R suffixes are not cosmetic. They let Blender mirror bones with the Symmetrize tool and let downstream engines recognize left from right. A rig whose bones are all called "Bone.007" is a rig you will be renaming at the worst possible moment.
Step 2: How to bind a mesh to an armature in Blender
Go back to Object Mode. Select the mesh first, then Shift-select the armature so the armature is the active object, then Ctrl+P and choose Armature Deform. Order matters here: the manual specifies selecting all child objects first and the armature last. Blender adds an Armature Modifier to the mesh and creates vertex groups named after the deforming bones.
How to rig a model in Blender with automatic weights or empty groups
You get three options in that menu. With Automatic Weights fills the groups using bone heat, and it is the fastest starting point on a clean closed mesh. With Empty Groups creates the groups but leaves them blank, which is the right pick when you plan to assign weights yourself or already have a weight pass you want to keep. With Envelope Weights uses each bone's envelope radius instead of distance, which is coarser but useful on simple mechanical parts and hard-surface rigs.
For a character, start with automatic weights and expect to repair them. That is normal, not a sign you did something wrong.
Step 3: Test the rig in Blender's Pose Mode before you touch a brush
Ctrl+Tab into Pose Mode on the armature. Rotate the shoulders, bend both elbows to about 90 degrees, raise one arm overhead, and bend a knee. Watch the shoulder, armpit, elbow, hip, and knee. Note every spot that pinches, tears, or pulls an unrelated part of the mesh.
Do this before painting anything. Automatic weights are rarely perfect on the first pass, but they are usually close enough that a short list of fixes beats a full repaint. Also confirm the mesh has an Armature Modifier pointing at the right armature object and that the vertex groups exist. If nothing moves at all, the problem is naming or a missing modifier, not weights.
Step 4: How to weight paint when you rig a model in Blender for animation
Select the mesh and switch to Weight Paint mode. The Weight Paint introduction documents the color code: blue means unweighted (0.0), red means fully weighted (1.0), and the rainbow between them is partial influence. Unreferenced vertices can be displayed in black, which is the fastest way to spot missed areas.
Pick the bone that should own the problem area, paint at full strength over the vertices that must follow it, then drop the strength for the transition zone so the influence fades into the neighbor. The Subtract brush removes weight that leaked onto the wrong bone, a common one at the shoulder where the arm grabs the neck. The Blur brush softens a hard boundary so a joint bends instead of snapping.
Why Normalize All is optional when weight painting a rig
A lot of guides insist you must run Normalize All or the character will double-deform. The manual says the opposite. Weights need to add up to 1 per vertex for deformation, but "the Armature modifier in Blender does this automatically, so it is technically not necessary to ensure that weights are normalized at the painting stage." Normalize All and Auto Normalize are workflow tools. They make the numbers easier to reason about and unlock Multi-Paint and vertex group locking. The modifier handles the math either way.
Preserve Volume and other Armature Modifier options when rigging
On the Armature Modifier, Preserve Volume is worth testing on any character that bends far. The manual describes the exact behavior. Without it, rotations at joints scale down the neighboring geometry "up to nearly zero at 180 degrees from rest position". With it, the geometry keeps its volume but there is a gap, a discontinuity at that same 180 degrees. On an elbow that never fully folds, Preserve Volume usually looks better. It is a per-rig call, not a default to tick and forget.
Step 5: Export a rigged model from Blender for Unity or Unreal
Select only the mesh and the armature, then use File, Export, FBX with Selected Objects enabled. FBX carries the bone hierarchy, vertex weights, and baked actions into Unity, Unreal, and Godot. Check the axis settings in the export panel and verify the result in the engine rather than trusting the preview: a rig that imports with the wrong forward axis will animate sideways. Unity's humanoid avatar documentation explains how its bone mapping expects a T-pose, which is another reason to settle the bind pose early.
If your target is a web or glTF pipeline, the Khronos glTF 2.0 specification defines how skins, joints, and inverse bind matrices are stored. Either way, keep a copy of the unbound mesh. Retopology that goes wrong is recoverable from the raw file, not from a half-skinned one.
How to Auto Rig a Model in Blender with Rigify
Rigify ships with Blender, so there is nothing to download. Enable it under Edit, Preferences, Add-ons if it is not already active. The 5.2 manual's Basic Usage page lists the predefined metarigs, and the range is wider than most guides mention: Basic Human (no face or fingers), Basic Quadruped, Human, Cat, Wolf, Horse, and Shark. That list matters if you are rigging anything with four legs.
The workflow is three steps. Shift+A, Armature, pick a metarig. Enter Edit Mode and move the joints onto your character's real shoulders, elbows, and knees. Back in Object Mode, open the Armature properties and click Generate Rig. The manual says generation takes "from few seconds to one minute depending on rig complexity and hardware". Then bind the mesh to the generated rig with Ctrl+P and With Automatic Weights, exactly as above.
The Rigify advice most Blender rigging tutorials get backwards
Plenty of walkthroughs tell you to delete the metarig once the control rig exists. The official manual says not to. Rigify assumes the metarig stays available so you can re-generate after changes, and "removing the meta-rig after generating the main rig, or significantly modifying the generated rig is not advised". Version updates and new features are written for metarigs, not generated rigs. Hide the metarig in a collection and keep it.
Rigify earns its setup time on a humanoid that an animator will push around, with IK and FK switching, pole targets, and finger controls. For a background NPC, a prop with one hinge, or your first hour in Blender, the generated rig has far more controls than the job needs.
How to Rig a Model in Blender When the Mesh Came From a Generator
This is where the workflow changes, and where the shortcuts stop being shortcuts. A downloaded or generated mesh usually arrives as a single dense triangulated object with no deformation-friendly edge loops, no skeleton, and a pose nobody chose. Blender's armature introduction defines a "rest position", the default shape your bones are built in. A generated mesh often arrives with no deliberate rest pose at all.
That does not mean the model is unusable. It means the order of operations matters more:
- Generated or scanned, dense triangles: retopologize first, or at least remesh into a manifold surface with joint loops. Binding a triangle soup and hoping weight paint saves it is the slow path.
- Downloaded asset store character, already rigged: check the bone names and scale, then decide whether to reuse the existing rig or rebuild it. Do not re-parent with automatic weights over finished vertex groups.
- Your own clean quad mesh, neutral pose: go straight to automatic weights and a short paint pass.
- Hard-surface prop or mechanical part: skip skinning entirely. Parent individual objects to individual bones with Bone Parent or use rigid vertex group assignment. Deformation is the wrong tool for a hinge.
Why "Bone Heat Weighting: failed to find solution" keeps coming up
You will find years of threads about it, including a long-running Blender Stack Exchange discussion with reports from 2026 that the workaround still matters. It is a community-reported problem rather than a documented Blender feature, so treat the fixes as field practice, not official guidance. What it usually means is that the solver could not build a clean heat solution over your geometry: overlapping shells, non-manifold edges, tiny scale, or detached floating parts.
A diagnostic order for rigging a generated model
Apply scale and rotation, then merge vertices by distance. Check for and remove internal faces and loose geometry. If the mesh is still dense and irregular, run a voxel remesh to get a single closed surface, then decimate or retopologize for joint loops. If the error persists, stop fighting the solver: parent with With Empty Groups and assign weights manually to a small set of bones. That is slower but always works, and on a mechanical model it is the correct method anyway.
When retopologizing before rigging is worth the hour
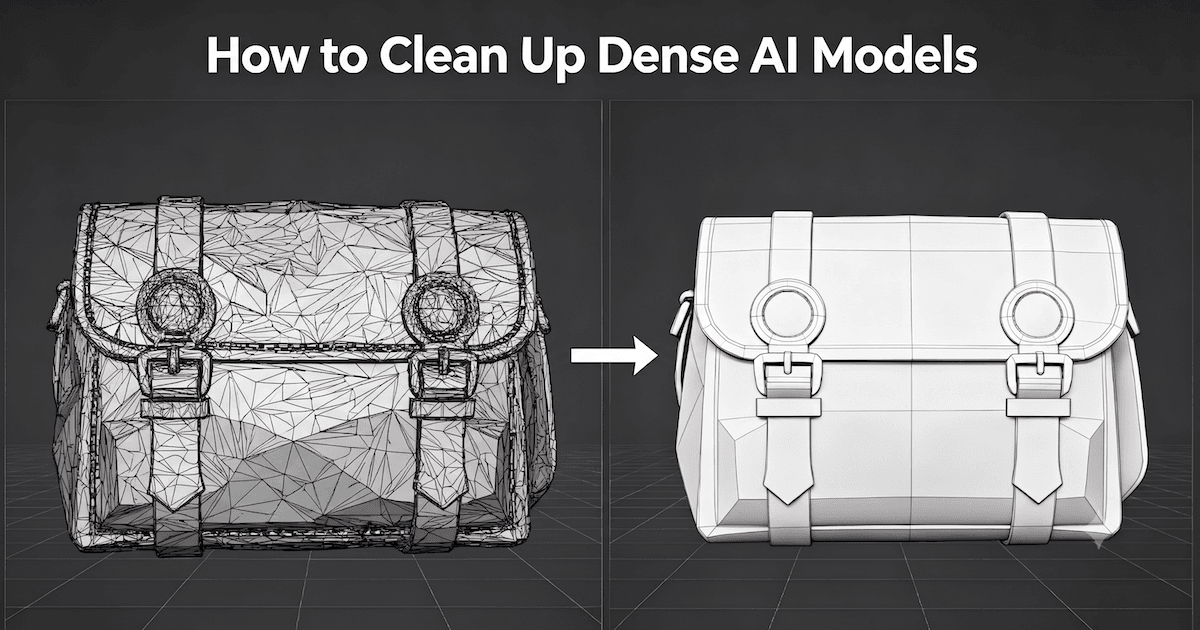
If the character will animate close to camera, retopologize. A dense unstructured mesh pinches at every joint regardless of how good the weights are, because there is no edge flow to carry the bend. Our guide to quads vs triangles in game retopology covers where loop density actually matters, and the walkthrough on cleaning up an AI model in Blender goes through the repair steps. For a static display render or a distant crowd figure, you can often leave the dense mesh alone and accept a simpler rig.
Where a cleaner starting mesh fits a Blender rigging workflow
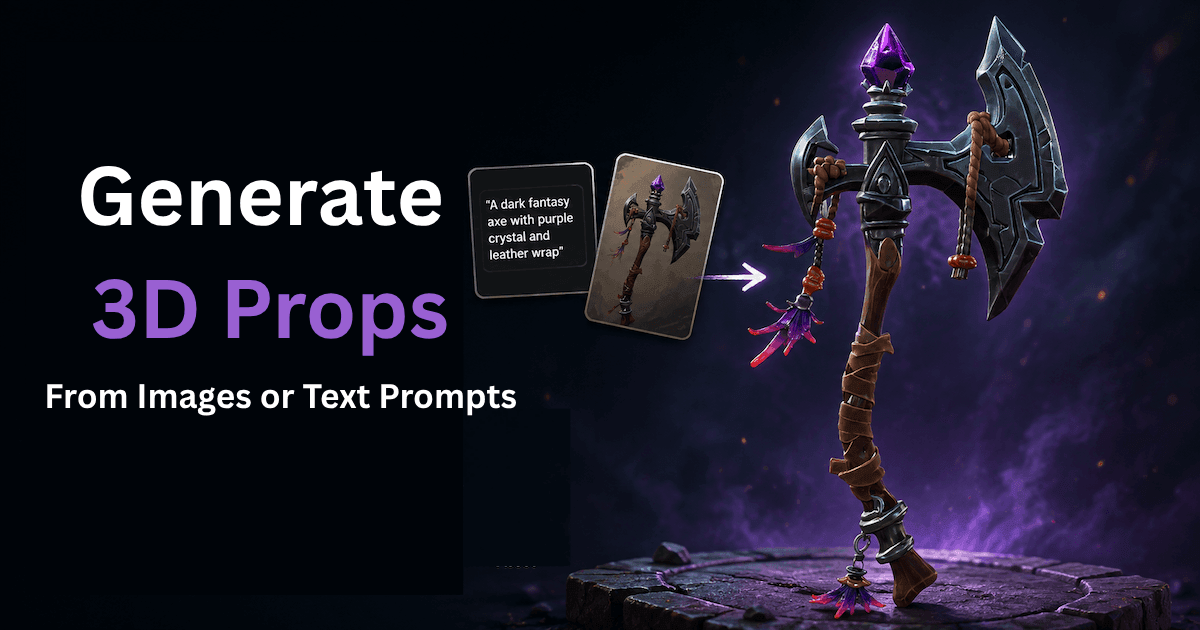
There is an upstream version of this advice. If you are generating the character rather than downloading it, the mesh you choose before rigging decides how much retopo you inherit. Triverse's Artist Mesh feature page describes its output as "clean, structured, quad-friendly" geometry and contrasts it with the "dense, unstructured triangle soup" of its high-detail HD Mesh mode. Its own comparison table lists manual retopo work as "Minimal" for Artist Mesh and "Required before rigging/animation" for HD Mesh, with generation around 20 seconds versus roughly 3 to 5 minutes. It exports FBX, GLB, and OBJ.
That is a topology choice, not a rigging shortcut. You still build the armature, parent with Ctrl+P, and paint weights yourself in Blender. Starting from a mesh with structured edge flow just means the bone heat pass has something sensible to solve over, and your time goes into the shoulders instead of rebuilding the whole surface. The Artist Mesh tutorial covers the vertex budget settings if you want to try it, and the comparison of image-to-3D vs text-to-3D input is worth reading when you have concept art rather than a written description. None of that replaces the bind pose check: generated characters ship in whatever pose the generator chose, so straighten the arms and center the spine before any rig touches them.
How to Choose a Rigging Workflow for Your Model
Your situation | Path that fits | The real cost |
|---|---|---|
Learning rigging for the first time | Manual armature, automatic weights, short paint pass | Slowest, but you learn what a bone does |
Non-humanoid creature or mechanical prop | Manual armature, With Empty Groups | No template fits; rigid assignment beats skinning |
Humanoid for animation, animator-driven | Rigify, keep the metarig | Aligning the metarig is the slow part |
Dense generated or scanned mesh | Retopo first, then any of the above | An hour upstream saves several in Weight Paint |
Crowd figure, distant, barely animated | Automatic weights, minimal cleanup | Accept imperfect joints |
Export to Unity humanoid | T-pose bind, FBX, verify avatar mapping | Pose choice affects retargeting downstream |
The pattern is not complicated. Rigging a model in Blender goes smoothly when the mesh is closed, symmetric, in a deliberate pose, and has loops where it bends. Every method in this guide, from a single bone to a full Rigify control rig, assumes those four things. When one is missing, fix it in the mesh rather than compensating in the weights.
Bottom Line
Pick the method that matches the model in front of you. A manual armature teaches you the most and handles anything non-humanoid. Rigify gives an animator a full control rig for a humanoid, as long as you keep the metarig. Automatic weights are a starting point that the official manual itself warns will often need repair. And every one of them depends on a closed, symmetric, deliberately posed mesh with loops at the joints.
Fix the mesh first, bind second, paint last. That order is what separates a rig that deforms cleanly from one you rebuild on the next project. If you are generating characters rather than modeling them, starting from a cleaner low-poly mesh leaves you less retopo to undo upstream, while the armature, the bind, and the weights stay yours to do in Blender.